Publish and share reports and dashboards
After creating a report or dashboard in the Power BI service, developers can share it with selected users. These users then become consumers of the content, meaning that they can view the material and interact with it (by adding comments, for example), but they cannot edit it.
Exam Tip
To share content, both the developer and the consumer must have Power BI Pro licenses or be working in a Power BI Premium workspace. Candidates for the PL-900 exam can access the free version of Power BI, but to work with the sharing features, they can obtain a trial version of Power BI Pro from Microsoft.
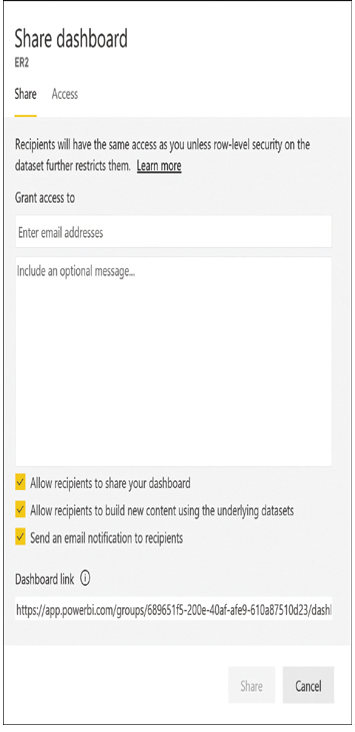
When you select a dashboard or report in a service workspace and click the Share icon, the Share dashboard or the Share report dialog box appears, like the one shown in Figure 3-68.

FIGURE 3-68 The Share dashboard dialog box in the Power BI service
After specifying the addresses of the users with whom the developers want to share the content, they can select or deselect the following options:
■ Allow recipients to share your dashboard/report—Allows recipients to reshare the content with other users
■ Allow recipients to build new content using the underlying datasets—Allows recipients to utilize the data sets with which the report or dashboard was created, using the developer’s credentials if necessary
■ Send an email notification to recipients—Generates an email containing a link to the report or dashboard and sends it to each recipient
For developers working in Power BI Desktop, their completed content is not accessible to consumers until they publish it to the Power BI service, as in the following procedure:
With the completed content file open in Power BI Desktop, click the Publish button on the ribbon’s Home tab or select File > Publish > Publish to Power BI. If the file has changes that have not been saved, a prompt appears to save it.
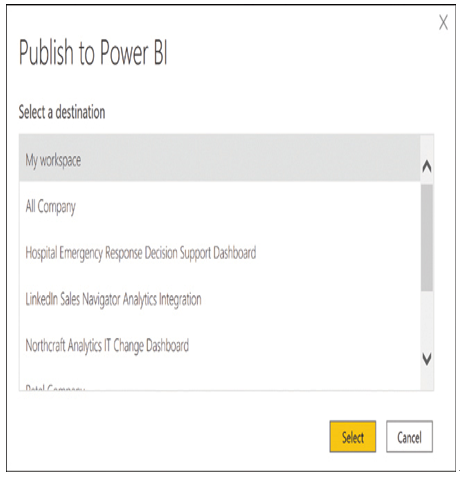
If the developer is not signed on to the Power BI service, a sign-on interface appears. After the sign-on is complete, the Publish to Power BI dialog box appears, as shown in Figure 3-69.

FIGURE 3-69 The Publish to Power BI dialog box in Power BI Desktop
Select one of the available workspaces listed in the dialog box and click Select.
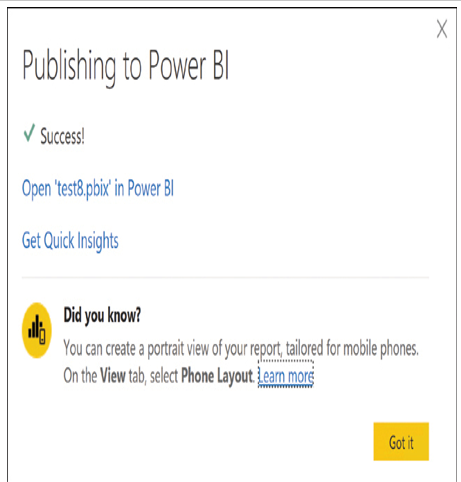
When the publication process is completed, a Success message box appears, containing a link to the published file in the Power BI service, as shown in Figure 3-70.

FIGURE 3-70 Publishing to Power BI Success message box in Power BI Desktop